 Back to Helldivers 2


Helldive and Super Helldive difficulty requires careful Stratagem cooldown management. A combination loadout of both eagles and orbitals often works well. Some like the 500KG, are precision tools and need to be thrown close to the target. Other Stratagems, such as the Orbital Laser and Eagle Cluster Bomb, can be thrown in a general direction and will handle most enemies without requiring exact placement.
The Recoilless Rifle remains one of the top Support Weapons against the Terminids.
Check out our full updated Support Weapon Tier List for more ideas.
The RR can take down most heavy units the Terminids send your way with a single well-placed headshot. Bile Titans, Chargers, Impalers, nothing really withstands a shot or two from the recoilless. It’s also highly effective at eliminating Spore Spewers and Shrieker Nests from a safe distance.

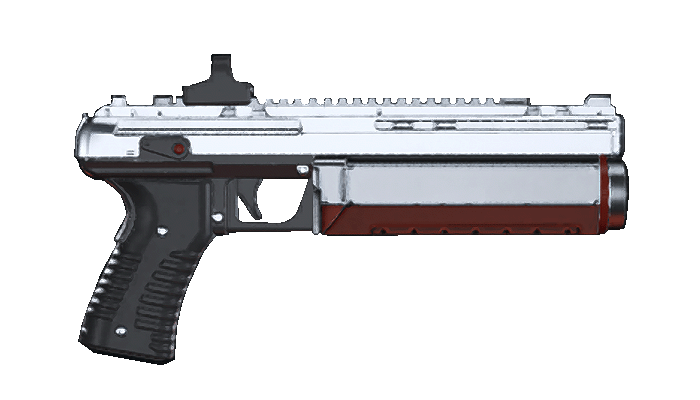
The SG-451 Cookout released with the Freedom’s Flame Warbond. It is an extremely ammo-efficient pump shotgun with a lot of knockback, making it very effective against Brood Commanders.
A single shot will ignite and kill a Shrieker.
Utilizing the burning damage can make the already extremely ammo efficient pump shotgun an S+ tier choice for ammo conservation.
Core Stratagems

![]()
![]()
![]()
![]()
![]()
Unlock Cost ![]() 6,000 Requisition Slips
6,000 Requisition Slips
Unlock Level 5
- Backpack Support Weapon
- Anti-Tank
- Team Reloads
- Explosive

![]()
![]()
![]()
![]()
![]()
Unlock Cost ![]() 10,000 Requisition Slips
10,000 Requisition Slips
Unlock Level 15
- Eagle: 1 Uses per Rearm (2 Upgraded)
- Anti-Tank
- Explosive
Recommended Stratagems


![]()
![]()
![]()
![]()
![]()
Unlock Cost ![]() 10,000 Requisition Slips
10,000 Requisition Slips
Unlock Level 15
- Orbital
- Tracks Enemies
- Anti-Tank
- Fire Damage

![]()
![]()
![]()
![]()
![]()
![]()
Unlock Cost ![]() 10,000 Requisition Slips
10,000 Requisition Slips
Unlock Level 18
- Orbital
- Fire Damage
- Area Denial
- Explosive

![]()
![]()
![]()
![]()
![]()
Unlock Cost ![]() 4,000 Requisition Slips
4,000 Requisition Slips
Unlock Level 3
- Eagle: 4 Uses per Rearm (5 Upgraded)
- Explosive
- Medium Armor Penetrating