 Back to Helldivers 2


Mobile Demolitions: There is no such thing as “too many explosives”
When the Terminids come crawling, it’s time to bust out the explosives. This build is all about explosive offense, maximizing your ability to slaughter Terminids and destroy their nests. The Grenade Launcher is your primary support weapon, perfect for clearing large nests and annihilating entire patrols with just a few shots. It makes quick work of Bile Spewers and hordes of unarmored enemies.
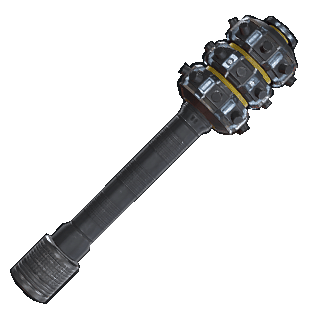
When Chargers or Titans appear, call down your Expendable Anti-Tank (EAT), temporarily drop your Grenade Launcher, take out the heavies, and then pick your launcher back up. In addition, landing a Thermite Grenade on the head of a Bile Titan or Charger is an almost guaranteed kill, but it may take you a few tries!
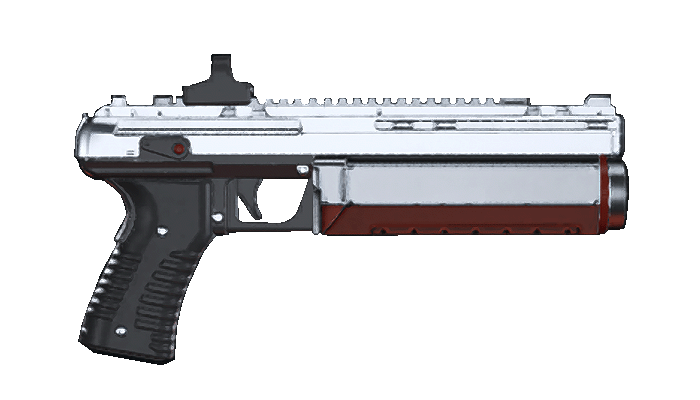
The SG-451 Cookout released with the Freedom’s Flame Warbond. It is an extremely ammo-efficient pump shotgun with a lot of knockback, making it very effective against Brood Commanders.
A single shot will ignite and kill a Shrieker.
Utilizing the burning damage can make the already extremely ammo efficient pump shotgun an S+ tier choice for ammo conservation.
Core Stratagems

![]()
![]()
![]()
![]()
![]()
Cost: ![]() 6,000, Unlocked at Level 5.
6,000, Unlocked at Level 5.
The Grenade Launcher is a highly satisfying and effective Support weapon, perfect for clearing waves of bots and bugs. Aim behind Hive Guards and Striders to bypass their front armor.
You can use it to quickly destroy bug holes, bot fabricators, and side objectives like Mortar Nests and Spore Spewers with just a few grenades.

![]()
![]()
![]()
![]()
![]()
Cost: ![]() 3,000, Unlocked at Level 3.
3,000, Unlocked at Level 3.
Calls down two disposable rocket launchers that are capable of killing Chargers, Bile Titans, and Hulks with an accurate headshot. One major advantage is that it does not require an ammunition backpack, allowing you to still wear a Shield, Jump, or Supply pack.
While it does less damage than other anti-tank weapons, you can quickly fire the first launcher and pick up and fire the second launcher without the need for reloading.
Its low cooldown time allows you to call down an additional two launchers every minute. We recommend calling down 2-4 launchers before starting an objective, allowing you to quickly cycle through them as threats arrive.
Recommended Stratagems


![]()
![]()
![]()
![]()
![]()
Cost: ![]() 10,000, Unlocked at Level 15.
10,000, Unlocked at Level 15.
The Eagle 500KG Bomb is the most powerful explosive Stratagem, second only to the Hellbomb and Mini-Nuke.
It can obliterate nearly any enemy in a single hit, with the exception of Factory Striders, which will still sustain heavy damage.
With its newly enhanced blast radius, the 500KG Bomb is now one of the most capable Stratagems available.
![]()
![]()
![]()
![]()
![]()
Cost: ![]() 10,000, Unlocked at Level 15.
10,000, Unlocked at Level 15.
The Orbital Laser is an incredibly powerful stratagem, though you’re only allowed 3 uses per game, and it is on a significant cooldown.
It will effortlessly slice through a field of enemies. It’s a “Throw and forget” kind of stratagem, as the targeting is handled automatically as the laser travels enemy-to-enemy. It’s capable of taking out bug holes and fabricators, as well as heavies such as the Titan, Hulk and Impaler.

![]()
![]()
![]()
![]()
![]()
![]()
Cost: ![]() 10,000, Unlocked at Level 18.
10,000, Unlocked at Level 18.
The Orbital Napalm Barrage is the ultimate area denial Stratagem, annihilating a large zone and leaving behind persistent flames that incinerate any enemies entering the area.
It’s highly dangerous and should never be deployed near areas where you or your team intend to stand in or walk through in the near future.