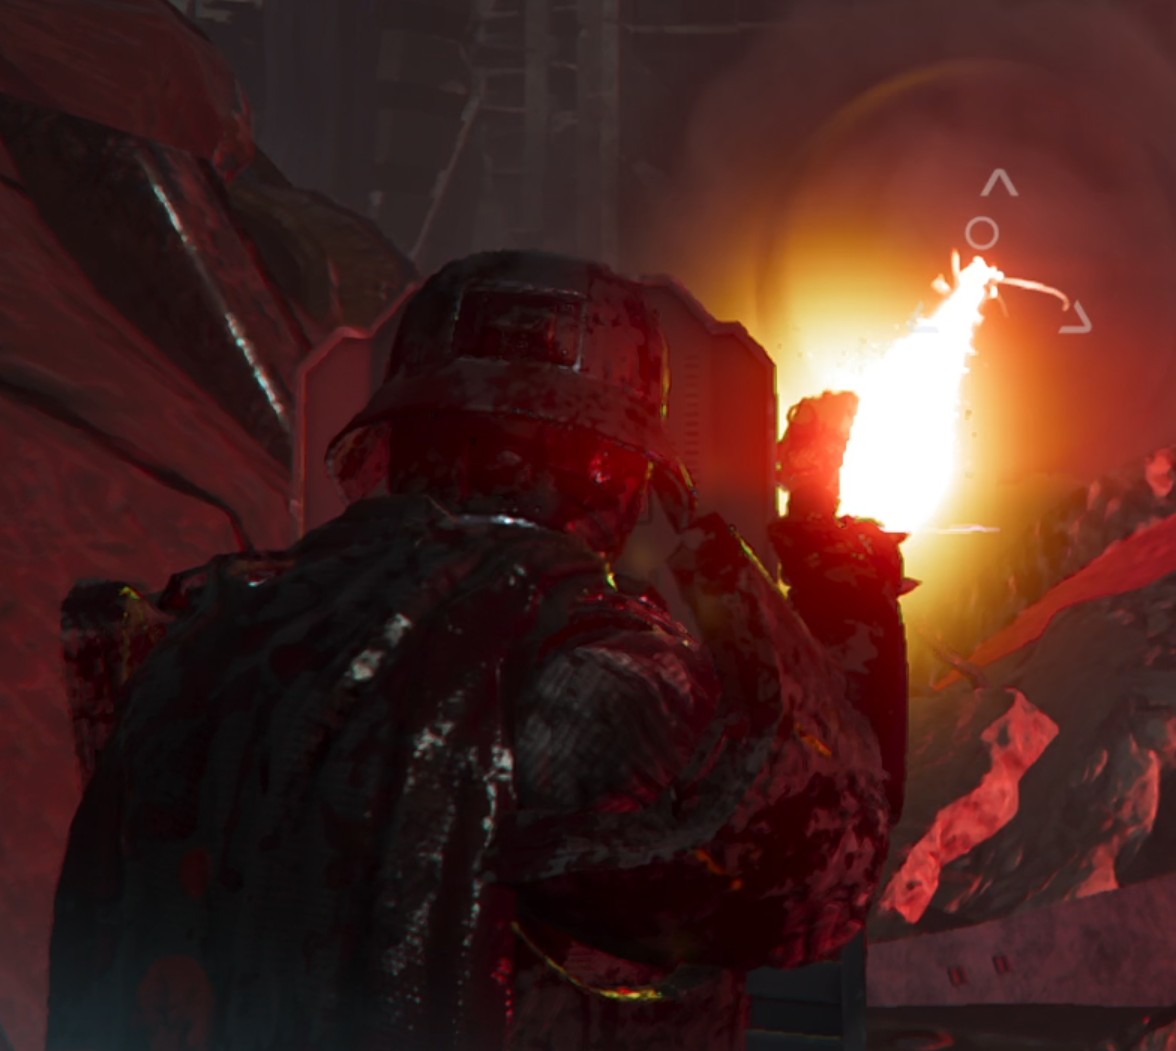
The Ballistic Shield is a extremely niche but quite entertaining Stratagem to use. Its use case is fairly limited, but in the situations where it shines, specifically on the bot front, it performs exceptionally well.
It can completely block machinegun fire from MG Raiders, Heavy Devastators, and even machinegun emplacements. Additionally, it can block autocannon rounds from Hulks and melee strikes from Devastators and Berserkers.
Unfortunately, it has a major weakness, rockets. The shield won’t protect you from the relentless spam from Rocket Devastators and Rocket Raiders.
If you attempt to block an explosive projectile, you’ll usually get ragdolled. If the shield takes too much explosive damage, it will break, leaving you defenseless until the stratagem cooldown resets. It can block attacks that would otherwise be fatal, such as Cannon Turret shots and Annihilator Tank Cannon shots, though your shield will be destroyed in the process, and your Helldiver will be sent flying. Still, when the choice is between that and dying, it can be a real lifesaver.
Loadout Breakdown
Ballistic Shield Build

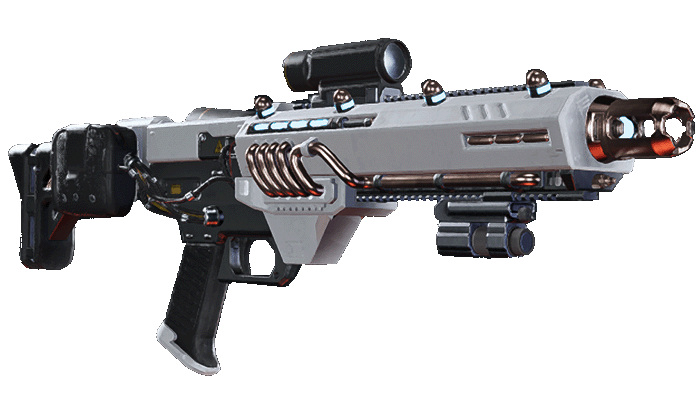
Primary: Purifier
- Fantastic against the bots, a top tier weapon choice capable of bringing down just about anything except heavies.

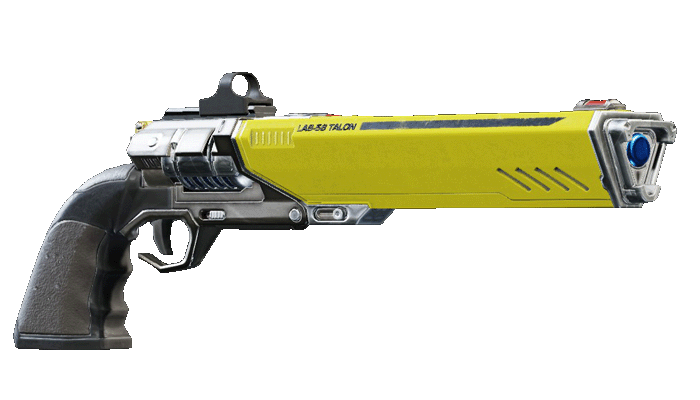
Secondary: Talon
- Capable of killing Raiders of all varieties in a single shot. Highly accurate and precise, so going for Devastator headshots is easy.
- One-handed, can be paired with the Ballistic Shield to easily take out most Automaton threats.

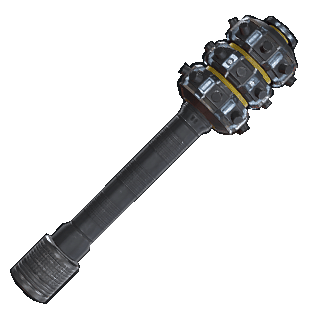
Throwable: Thermite
- Without an Ultimatum, you’ll need a reliable way to kill Tanks, War Striders and Hulks.

Armor Passive: Fortified
- Explosive Damage Resistance of 50% makes the few things that DO get past the Ballistic Shield much less of a concern.

Support Weapon: Quasar Cannon
- Reliable 1-tap kills on War Striders, Hulks, and Dropships.
- Requires no ammo backpack, so it won’t conflict with the Ballistic Shield.
- Long cooldown between shots, but that’s why you bring Thermite as a reliable tool.
 Back to Helldivers 2